Receiving a brand new device is exciting! But it can also be intimidating – which is why this walkthrough will show you all of the different parts of your Sensedge and how they function.

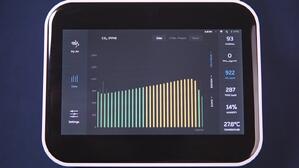
The Sensedge features a 7″ full-color touchscreen display, allowing for easy setup and maintenance, while also allowing all of your data to be viewed in real-time and in-person
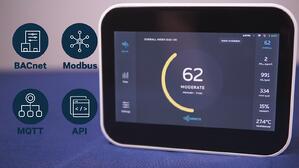
The Sensedge is powered via USB cable and can connect to a network via 2.4 GHz WiFi or Ethernet, which allows for BACnet, Modbus, MQTT, and API communication

When powering on your Sensedge for the first time, it is important to allow the internal battery to charge to at least 50% before proceeding with the set-up process.

Once your device is charged, you can press-and-hold the power button on the top of the device, until the Kaiterra logo appears on-screen. Follow the on-screen steps to properly set up your device
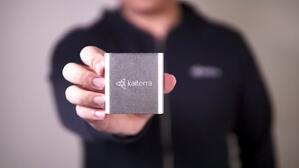
The standard Sensedge comes with the KM-100 and KM-103

The KM-100 is the silver sensor module that measures your Particulate Matter – PM2.5
The KM-103 is the gold sensor module that measures your Total Volatile Organic Compounds (TVOC), Temperature, and Relative Humidity – this sensor requires a brief warm-up period, so make sure it is exposed to clean, fresh air during the start-up!

By using a modular design, the Sensedge allows you to replace our sensor modules when needed, without having to go through the traditional (and painful) calibration process.


